The chicks I purchased in April graduated Sunday to a nice spot in my freezer. They were almost 12 weeks old.

The morning after butchering, my two-year-old saw the empty chicken tractor in the yard and asked, “Mommy, where’s the chickens?”
Not one to mince words, I said, “We butchered them and put them in the freezer, so we can eat them.”
I don’t think he really understood, since he was swimming with his grandpa during the whole process. However, he answered, “OK.”
It took eight of us four and a half hours to butcher 70 chickens. We thought we made pretty good time. That includes the time it took to cut up and pack them in the freezer.

We mostly used the same process as when we butchered last year. One change was that we used a poultry leg hook to catch the chickens. As the name implies, the catcher hooks the bird by the leg and you pull it off the ground.

Once caught, someone holds the chicken tightly with its neck on the chopping block. A hatchet severs the head, and then the bird is held into a bush to keep the blood from splattering while it thrashes.

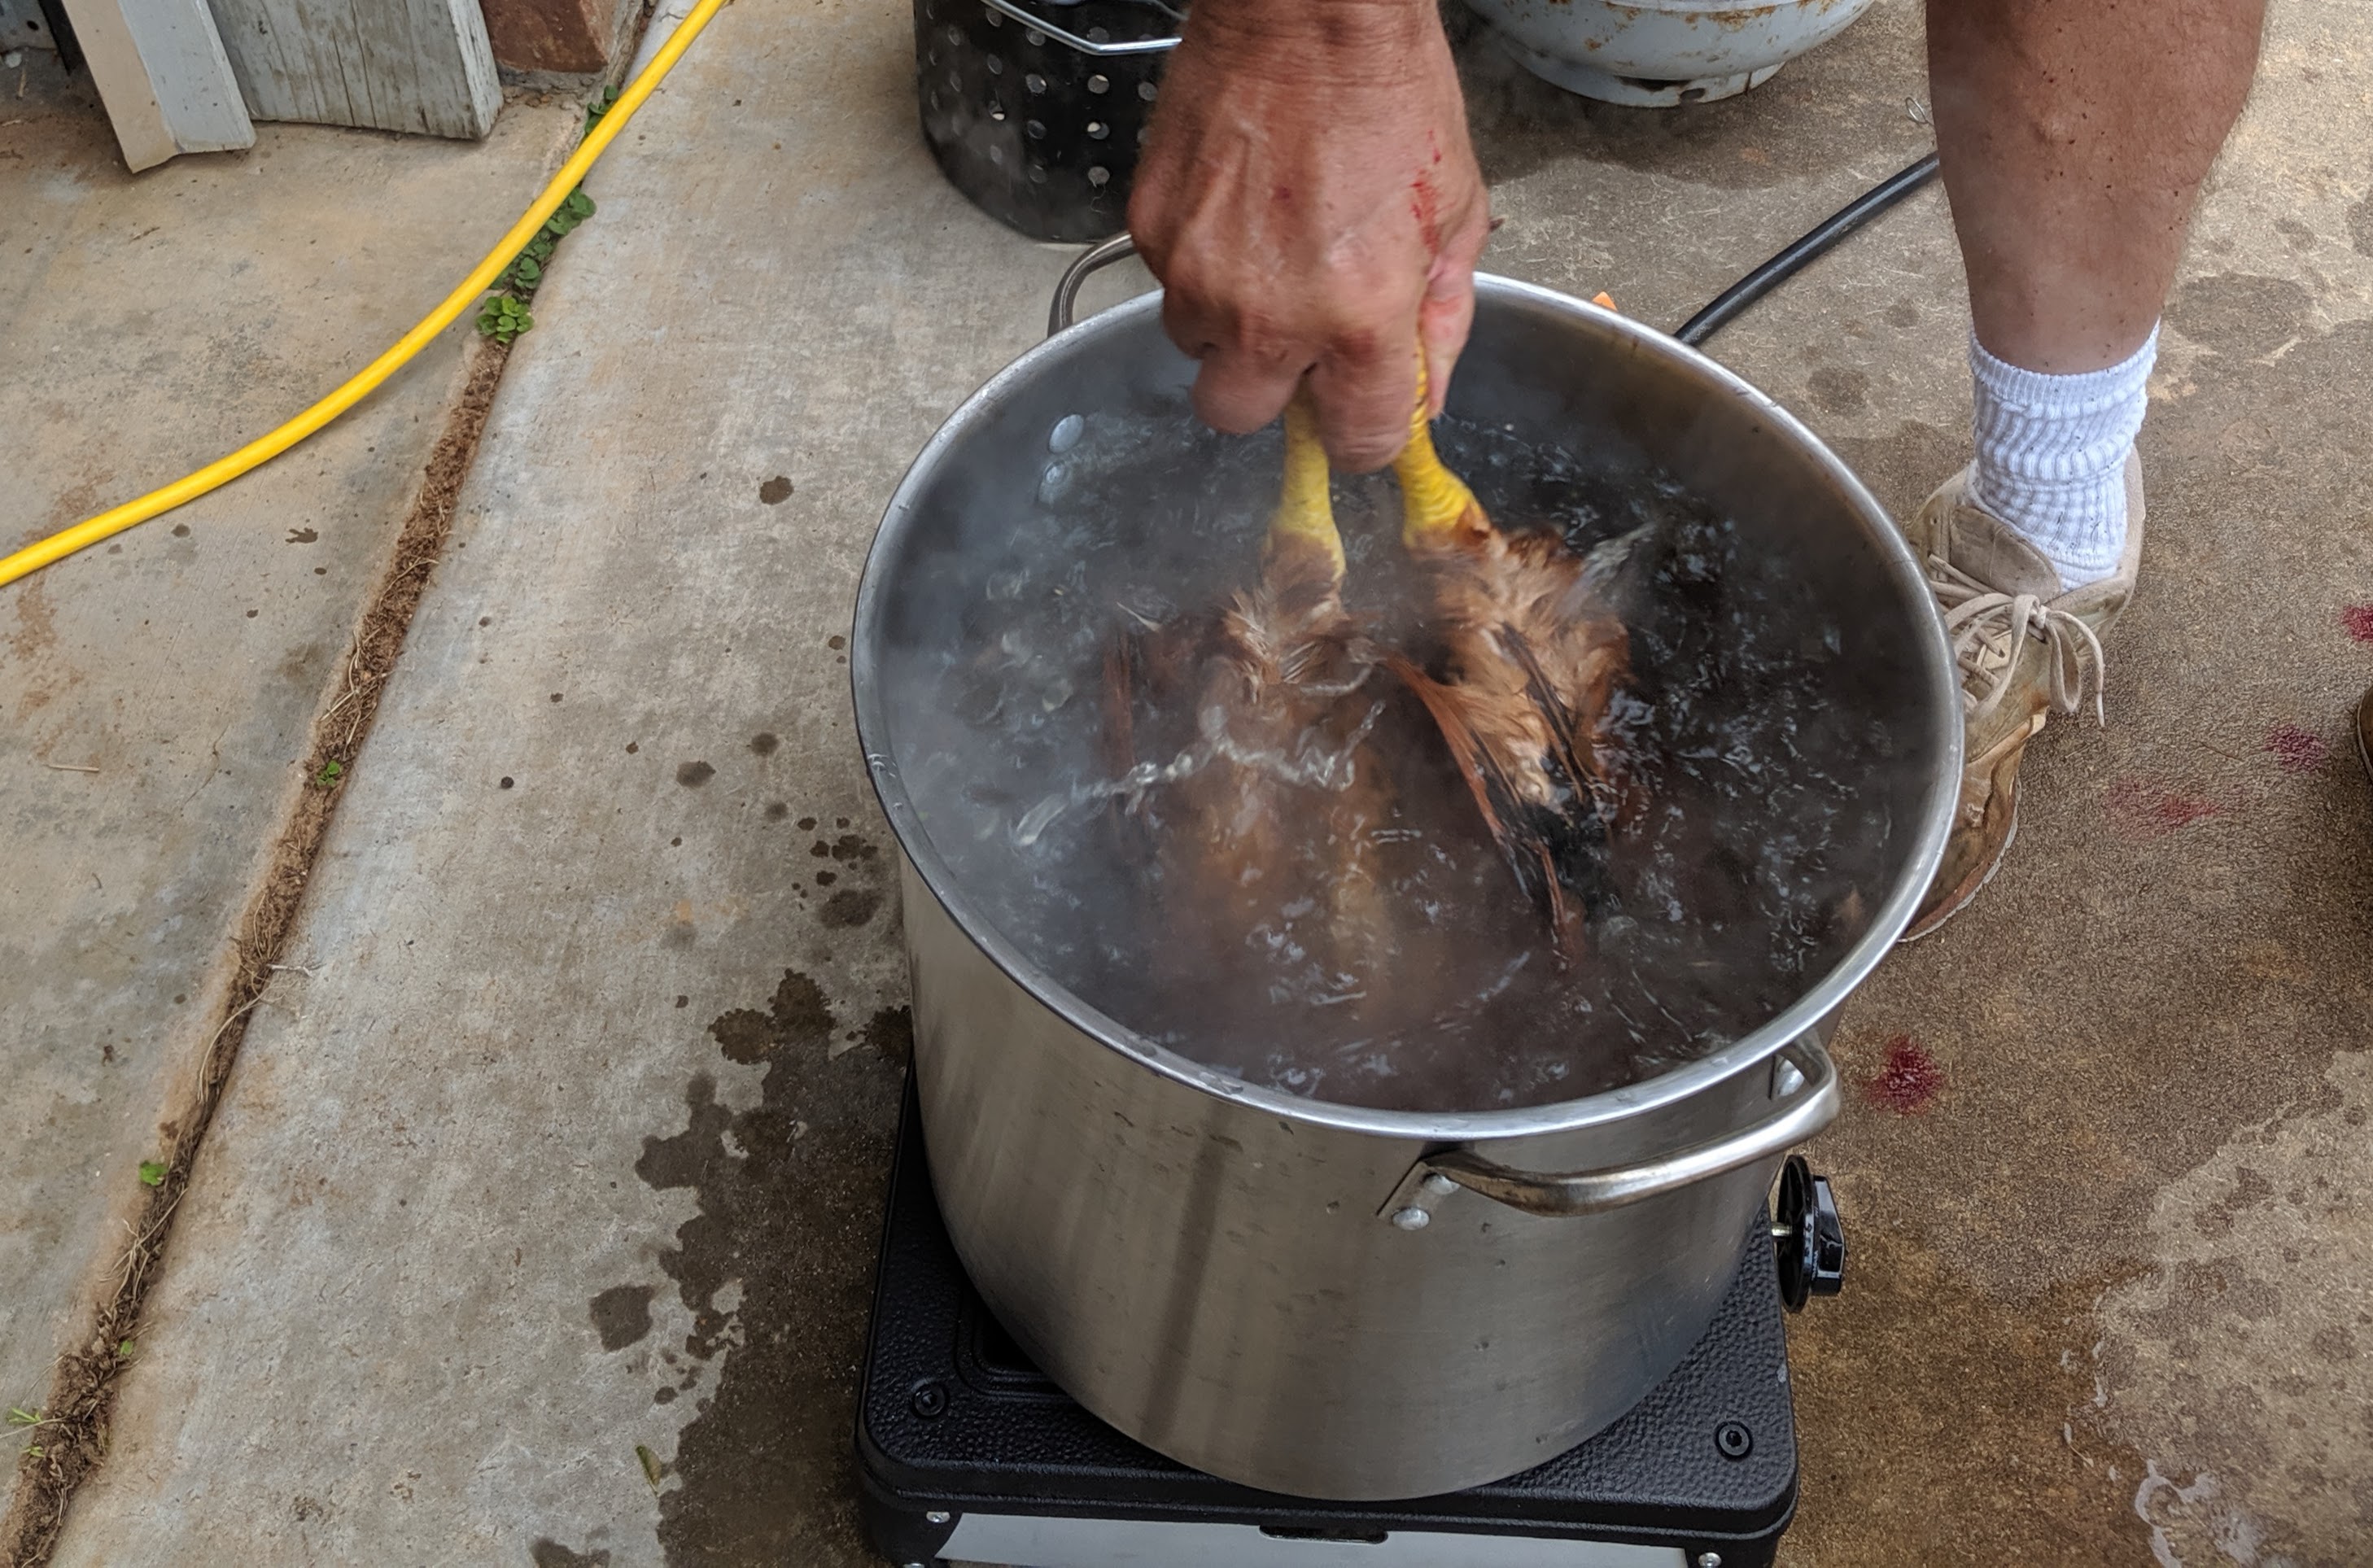
The next step is to scald the chicken in a large pot of boiling water. This was a continual process of keeping the water high enough and hot enough. If you don’t scald the bird right, the plucker won’t get the feathers off very efficiently.
The plucker is what saves us a tremendous amount of time. A friend of the family was nice enough to loan us his plucker the two times we’ve butchered. It works like a charm, spinning the bird around in a tub while rubber “fingers” take off the feathers.
Then someone cuts off the lower leg/foot of the chicken, and it’s ready to be gutted. Gutting is probably my least favorite part. If you are good at it, it doesn’t take long or make a huge mess. But, I’m not very good at it. Making a cut on the back end of the bird, you can stick your hand in and pull out the “innards.” We kept the gizzards, livers, and hearts and tossed the rest.
By the way, if you cut or pull wrong, you can open the intestines and make a mess with you know what all over your butchering table. Yes, it’s gross. Another unpleasant part is emptying out the gizzard, which holds all the undigested food the bird ate.
Once gutted, the chickens were brought inside to be cleaned. We separated the ones we thought were bigger and better to be frozen whole. The others, we cut up in pieces to freeze. It’s anyone’s preference how they like their birds cut up. I preferred my legs and thighs separate. I also don’t like to keep the bone on the breast meat. The backbone and breast bones went into bags, too, to keep for making chicken stock.

We used two vacuum sealers this year to speed up the process of packing. I was VERY happy to get the butchering over with. I was also very thankful to all my great helpers.
Last year, we raised Cornish Rock chickens, the typical meat bird. This year, we raised Freedom Rangers. We only lost three birds in 12 weeks and none of them to sickness. I do believe the Rangers were a hardier, healthier breed, though they were slower growers.
The chickens ended up costing us about $7.65 a piece, which isn’t bad. You might even say, “Cheap, cheap.”
This one should’ve had warning for the pictures 🤢 haha!
It’s great to have all that for your family though!!
LikeLike